Active@ UNDELETE ver. 5
See the most recent version
The Virtual Disk Array Wizard will guide you through the process of assembling together parts of existed array.
To start this wizard you have to do one of the following:
Follow the wizard steps prompted to complete Disk Array creation.
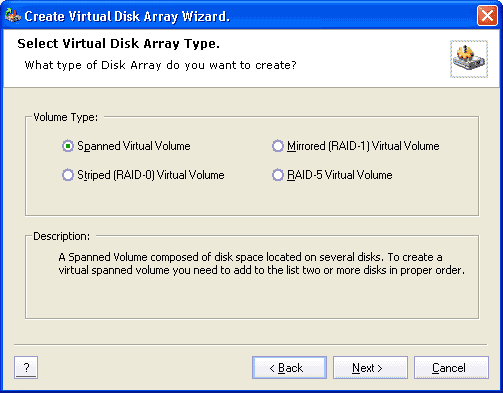
On this screen, you should select one of the type of Disk Array you want to create.

It can be on of those: Span, Stripe, Mirror or RAID-5.
After selecting appropriate type of array, click Next button to continue.
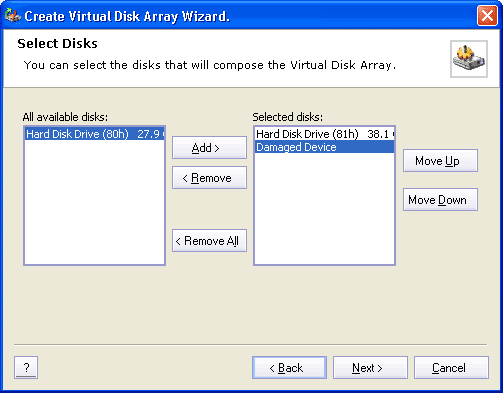
On this screen, you can select disk that will be a part of creating Disk Array and their sequence.

To make one of available disks be a part of Disk Array you should one of the follows:
To remove any of selected disks you should one of the follows:
To clear Selected Disks just click Remove All button.
You also can change the order of selected disks. To do that, select one of the disk and click Up or Down button to let move the disk selected in desired position.
Click Next button to continue.
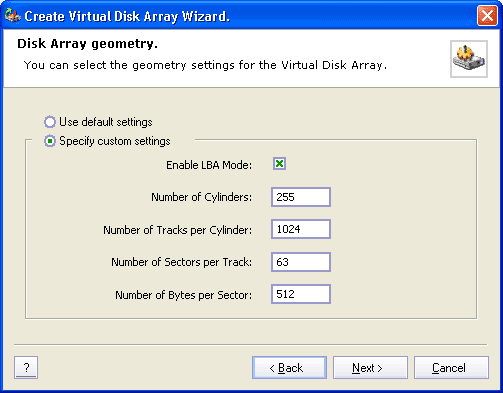
On this screen, you can specify the final Disk Array geometry.

To use default values select Use Default settings. To set own values, select Specify Custom settings and enter your values disk geometry in appropriate fields.
Click Next button to continue.
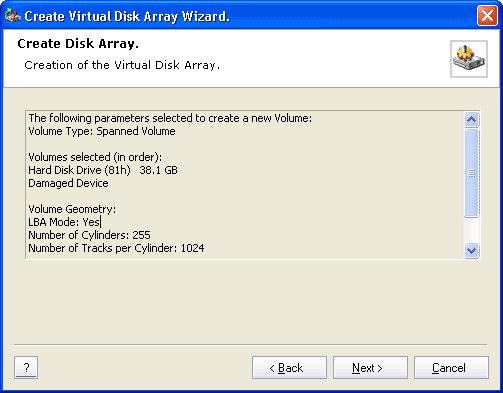
On this screen you can verify information about the Disk Array to be created.

Click Back button to change settings or click Next button to create Virtual Disk Array.
If creation of Disk Array was successful, you will be able to see opened image under devices or drives list in Explorer Tree View.