Active@ UNDELETE allows you to create virtual entities - disks and partitions to emulate real once without affecting data on physical devices for better access. Thus, user can emulate actual physical disk by assigning different values of disk geometry properties and read data from device if different sequence and interpretation.
Virtual RAID is software mocking or real physical drives (disks) RAID assembly to access data on these disks. Active@ UNDELETE supports all major RAID types:
Application also supports non-RAID arrays, like spanning of drives, when several disks are simple concatenated in a single big one.
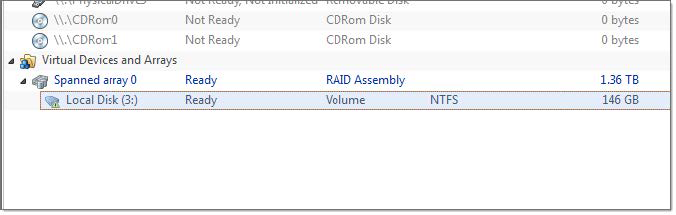
Figure 34: Virtual RAID item in Recovery Explorer example
Created virtual RAIDS appears in Recovery Explorer view and can be handled as real disks with partitions and volumes for purpose of file recovery. Due to nature of these objects, partition restoration on them is impossible.
Active@ UNDELETE is an advanced data recovery toolset that allows you to reconstruct damaged or broken RAIDS.
Virtual RAID assemblies are used to recover files from damaged physical RAID. To assemble virtual RAID follow the steps:

See: Disk arrays (RAID's) for information about how to select proper RAID type.
Size of stripe block in bytes. Applicable only for stripe or RAID-5 array types.
Size of a block in sectors
Offset of selected disk area from beginning if a disk in sectors.
Size of selected area in sectors.
To add disks to virtual RAID Assembly:
To remove disks from Selected disks list:
To change the order of a disk in the Selected disks list, select it and click Move Up or Move Down.
For each selected disks offset and size can be defined to specify part of a disk used in RAID assembly. By default entire disk is used in disk array.
Note: For each selected disk, used disk range can be set individually.
Tip: Click on disk partition or unallocated space to select entire partition or unallocated space to disk range for RAID assembly.
Select one of the supported RAID types:
The Processing… dialog appears.
Note: To display creation events and progress details, click Details.
Note: To terminate the creation process, click Stop at any time. Results may be not accurate or complete.
As a result, assembled virtual RAID must appear in Recovery Explorer view as a device, ready for scan or other actions applicable for virtual devices.
If a virtual disk array is not created, or if it is created with errors, return to 1 and try again with different disks, or with a different disk order and RAID options.